What is Manage Posts in Business App Social?
The Manage Posts feature allows you to view and manage all your social and blog posts including drafts, scheduled, and published content directly within the Business App.
This provides a centralized location to review in-progress posts, monitor upcoming scheduled content, and track performance on published posts without navigating to the Social Marketing product.
Why is Manage Posts important?
This simplifies content management by allowing you to:
- Access all social and blog post statuses in one place
- Quickly review and filter posts by account or network
- View performance metrics on published posts
- Save time by reducing the need to switch between products
With this integrated view, you can make faster, data-informed decisions about your content strategy.
What’s Included with Manage Posts?
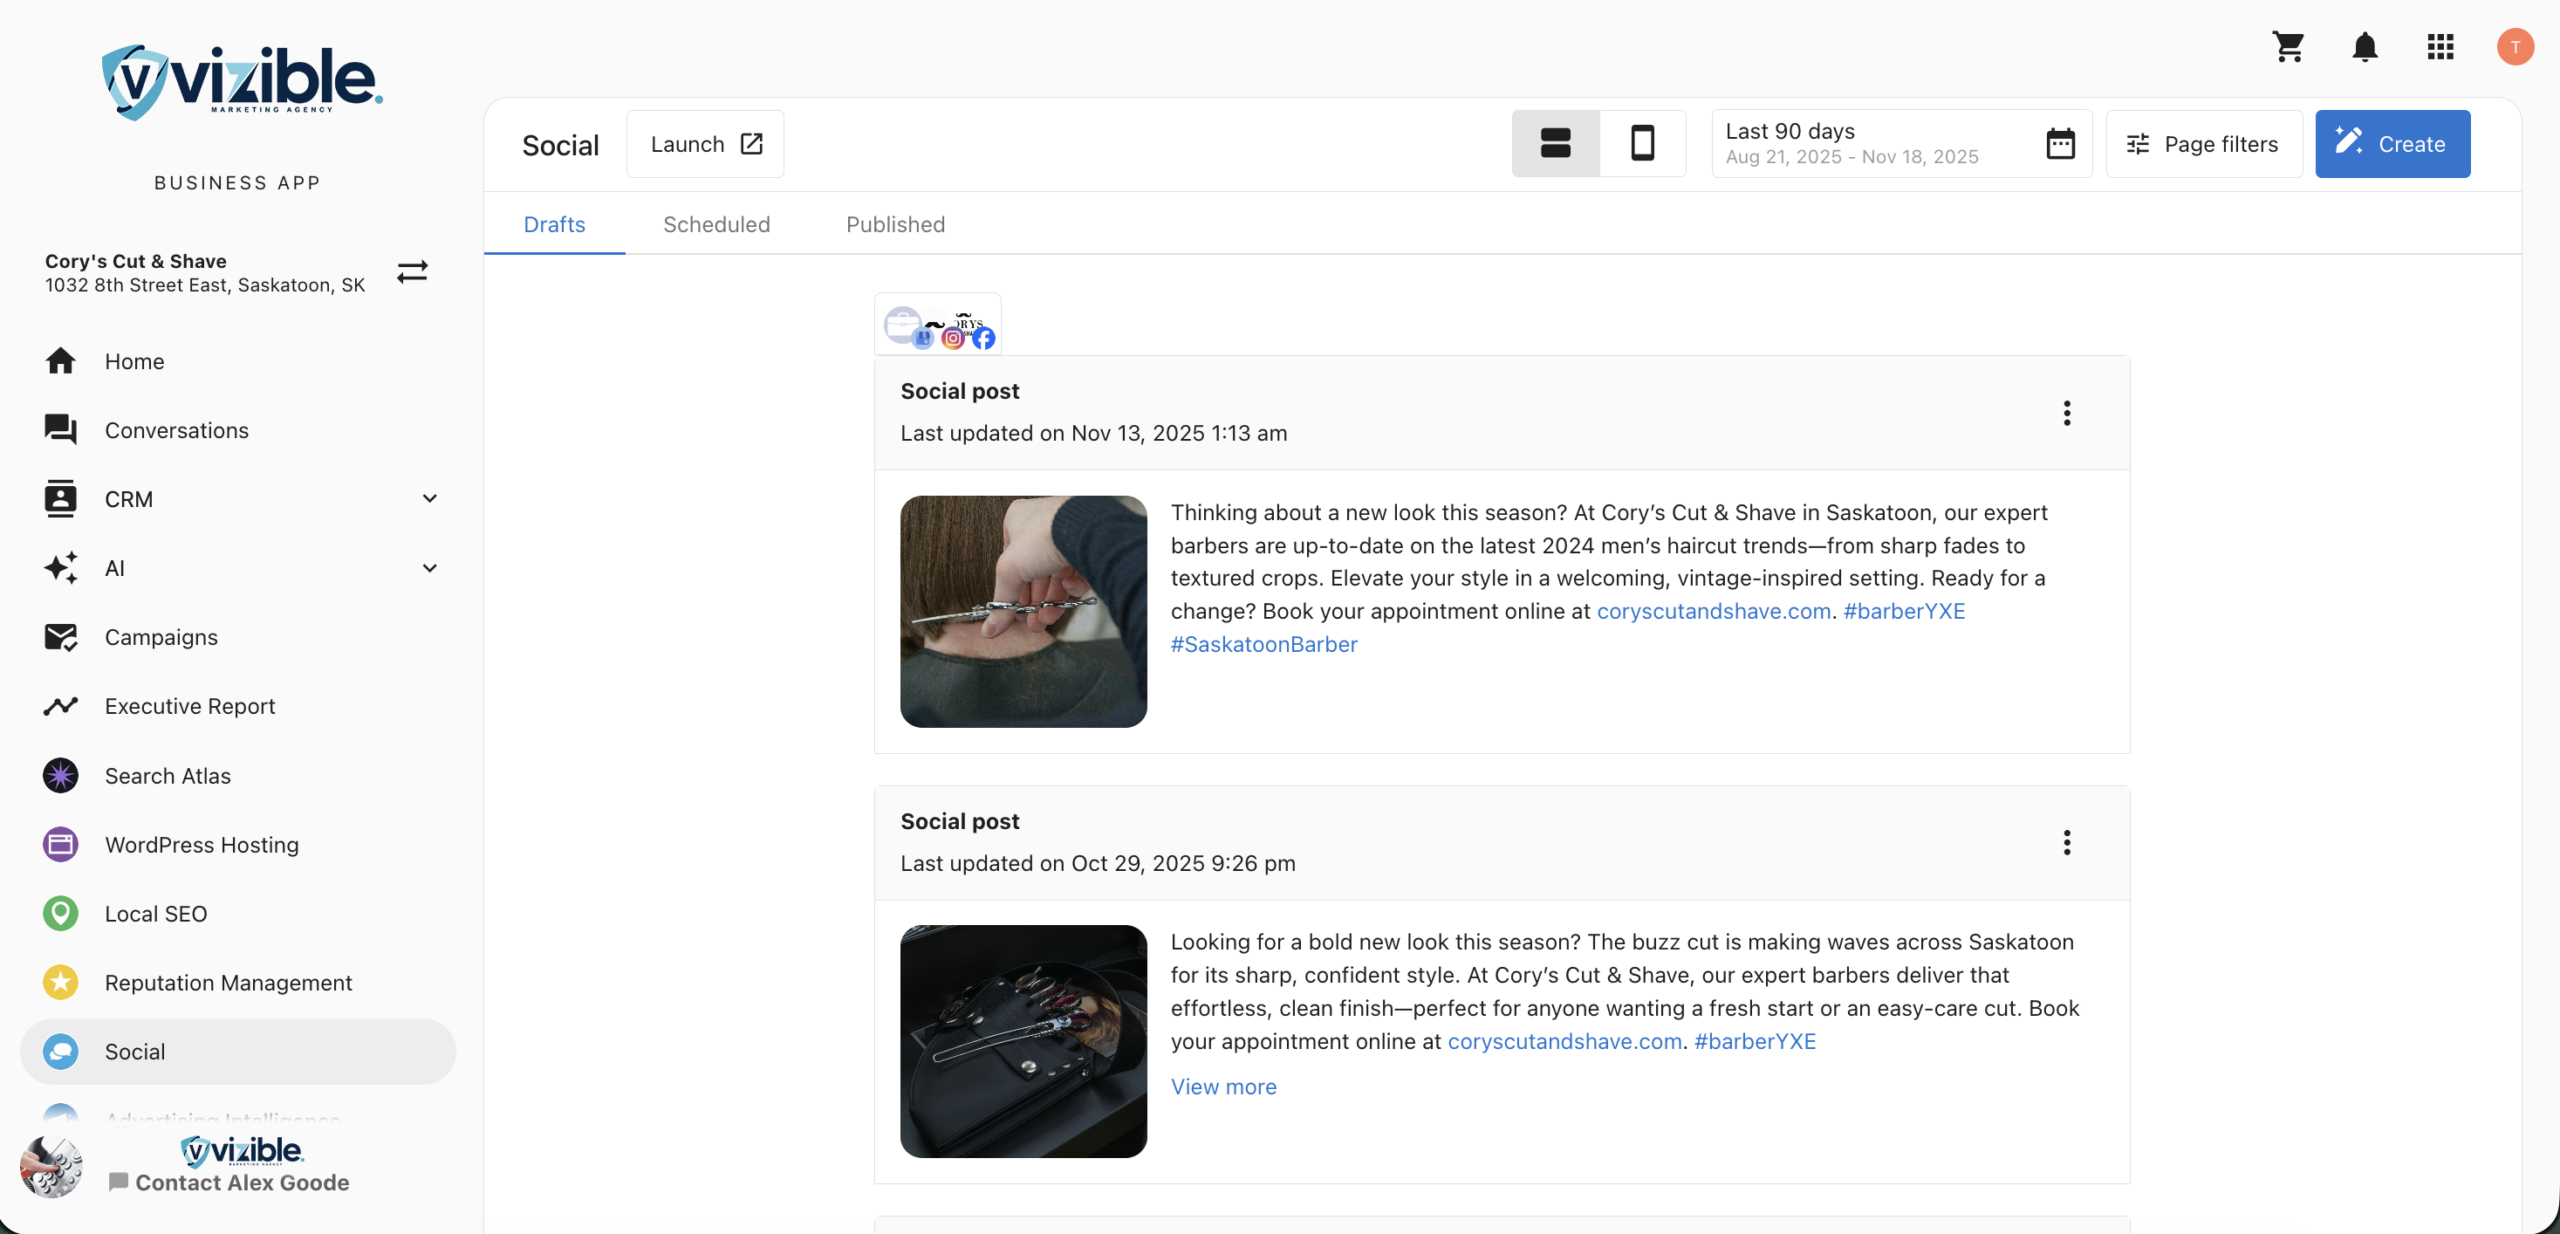
- Tabs for Drafts, Scheduled, and Published posts
- Post-level engagement and performance data
- Filtering by network, account, or date range
- Web and mobile view previews
- Access to create new posts in Social Marketing
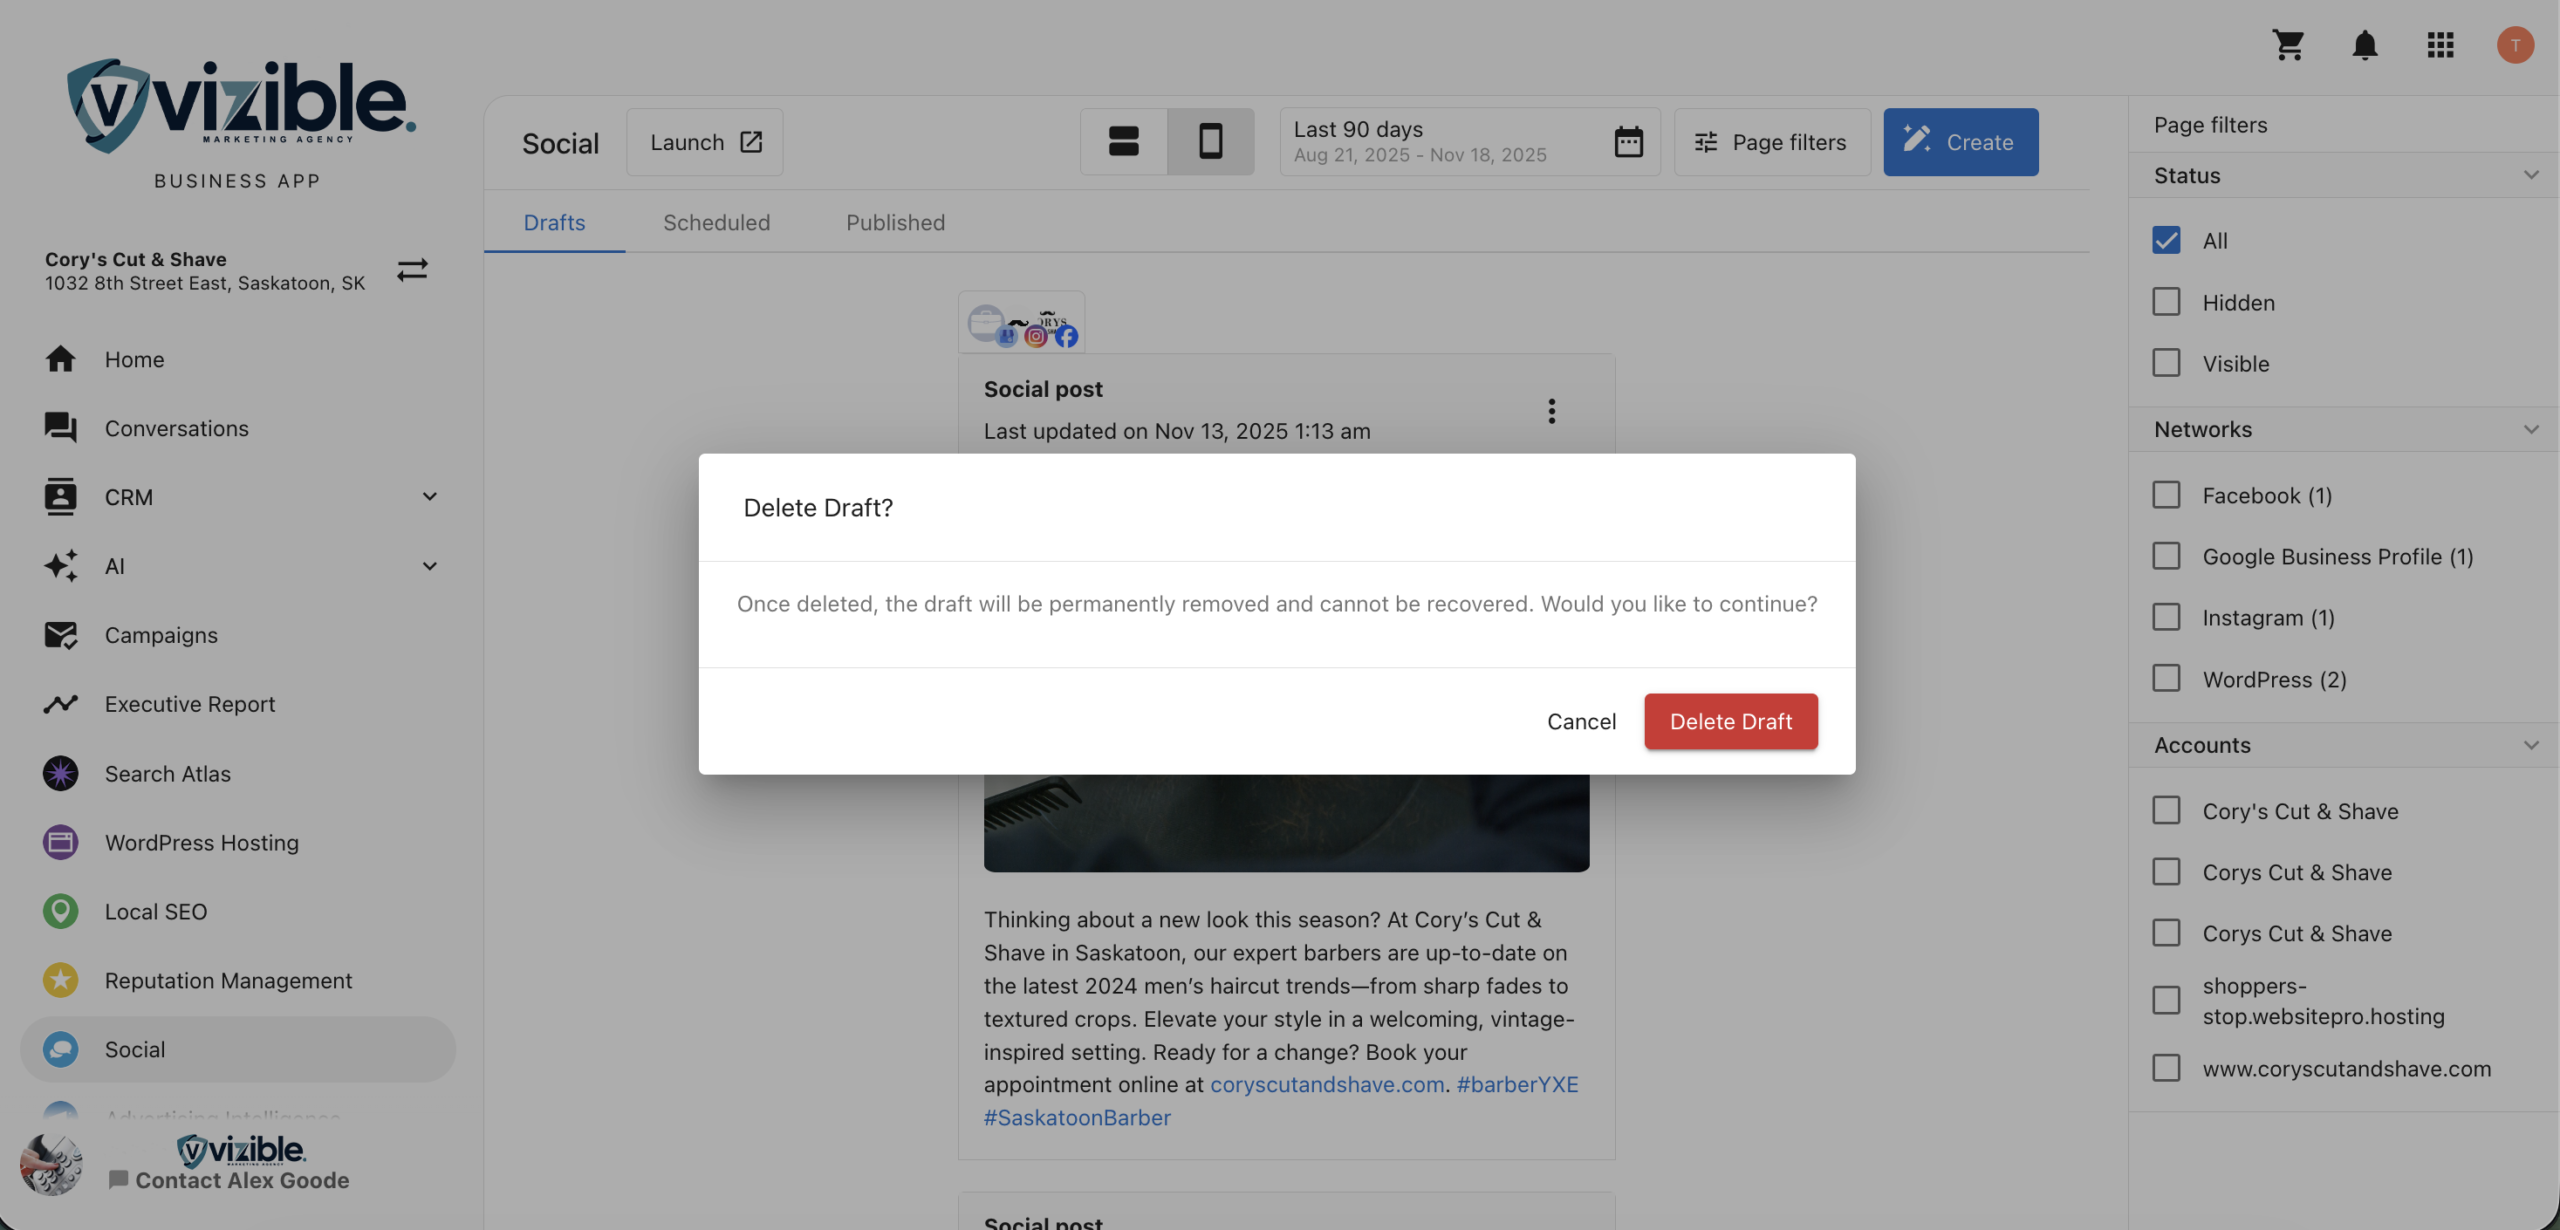
- Deletion options for posts across all statuses
How to Use Manage Posts
Step 1: Open the Business App
- Sign in to your Business App.
- From the left-hand navigation menu, go to
Social.
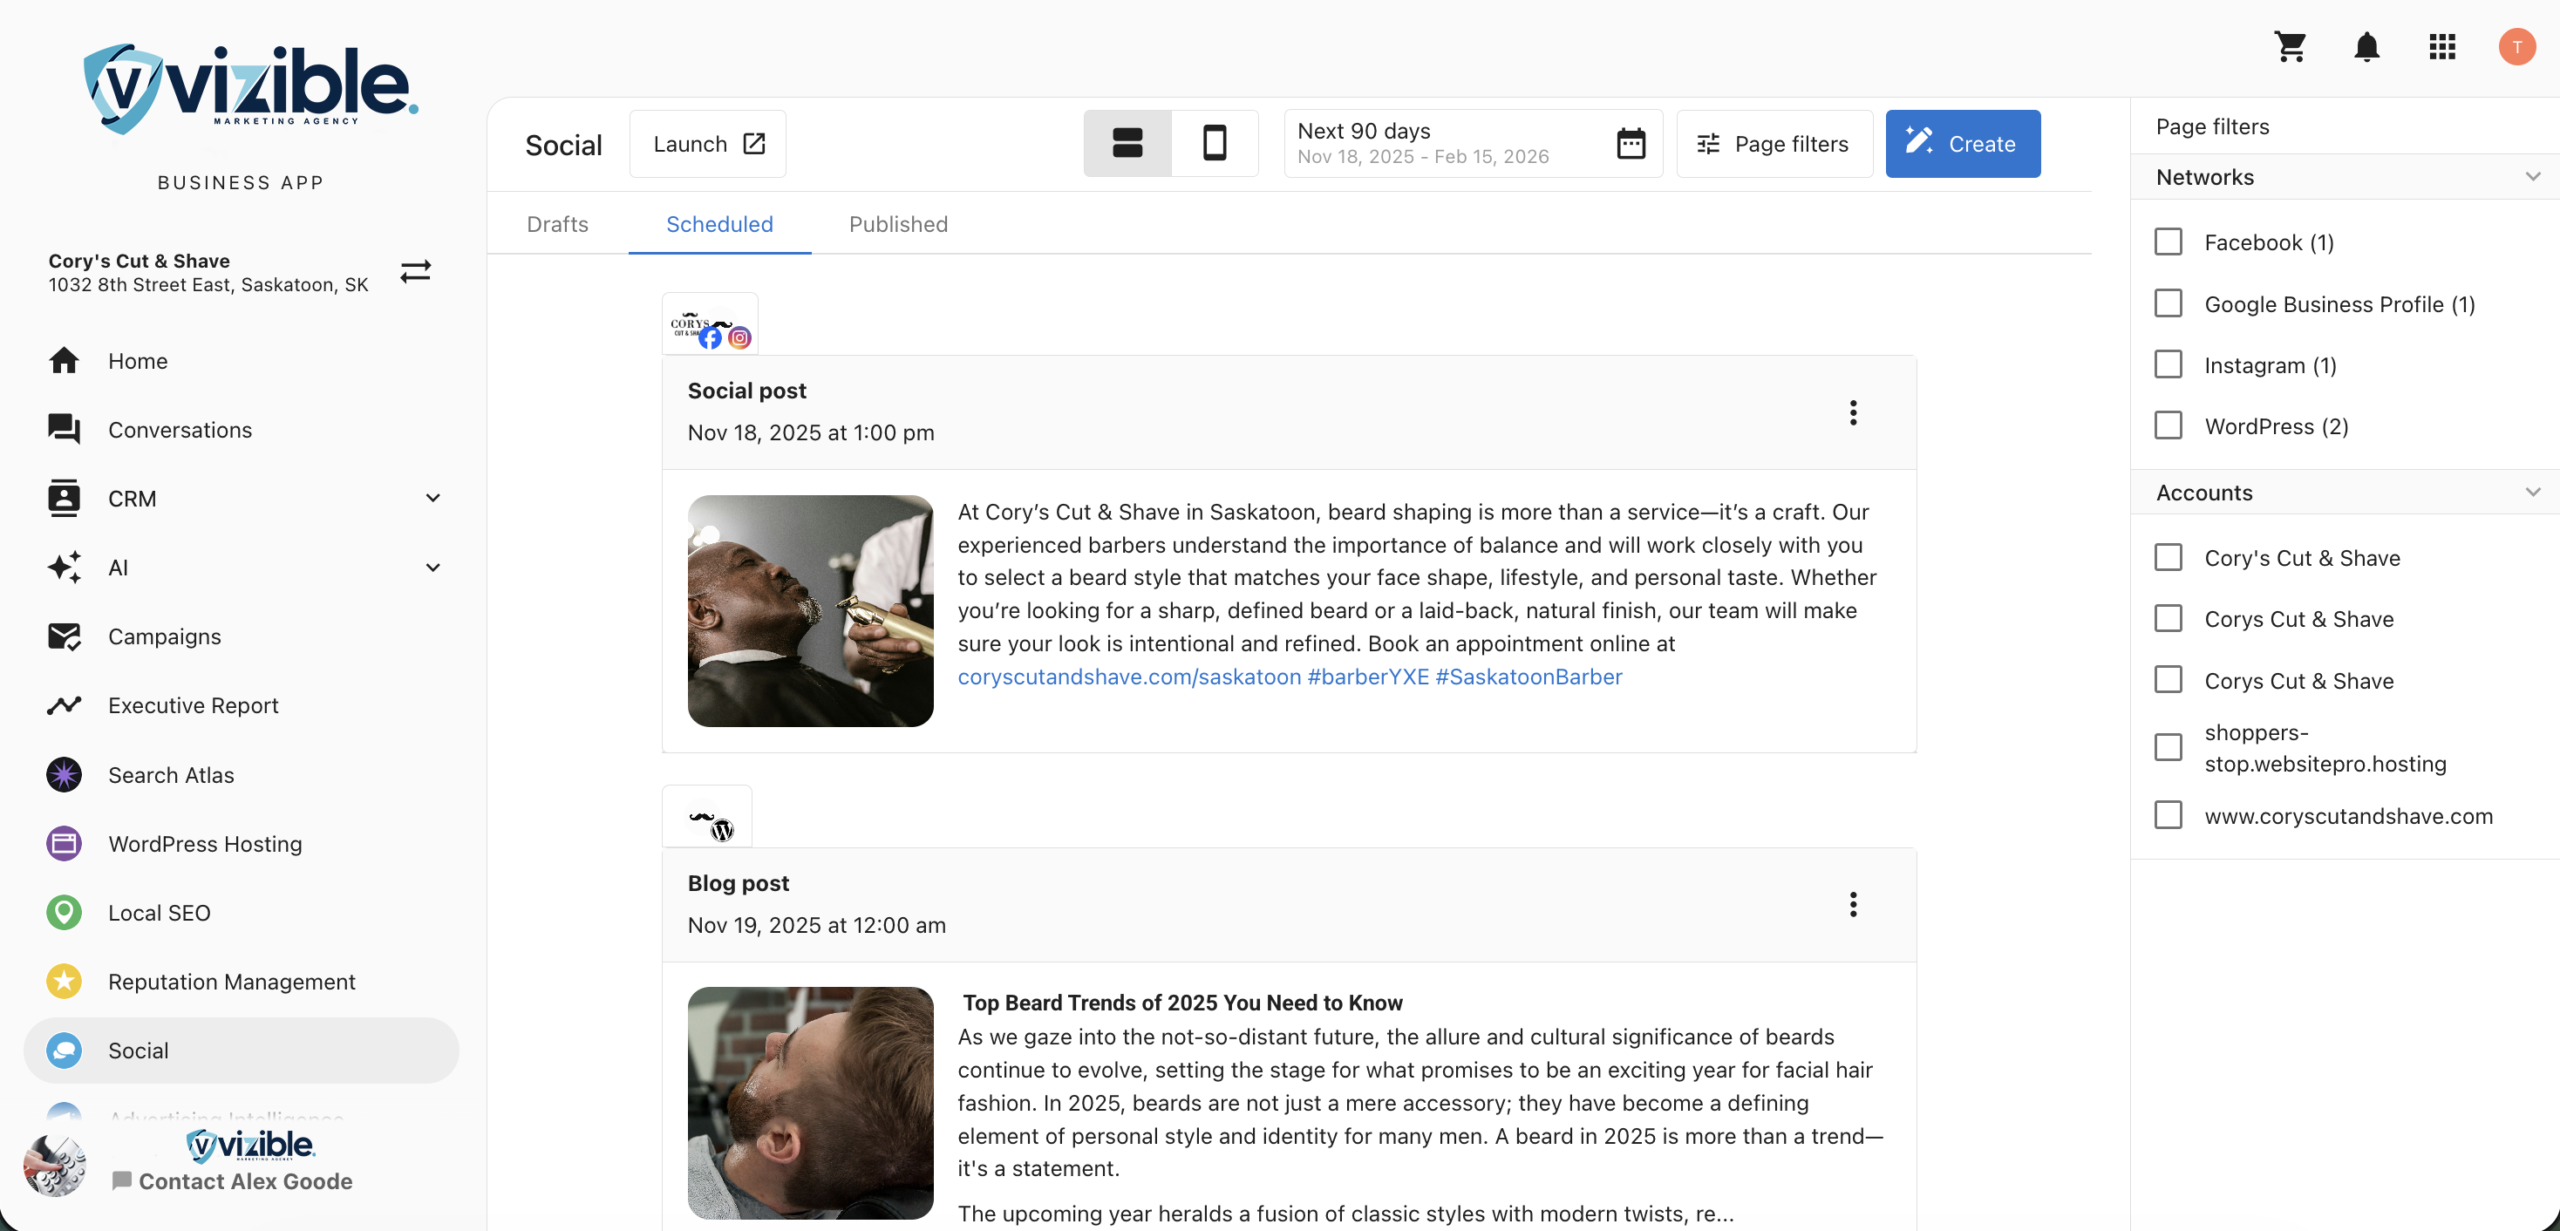
Step 2: Navigate Between Tabs
You will find three main tabs:
- Drafts – Lists posts currently being created or awaiting approval.
- Scheduled – Displays posts planned for future publication.
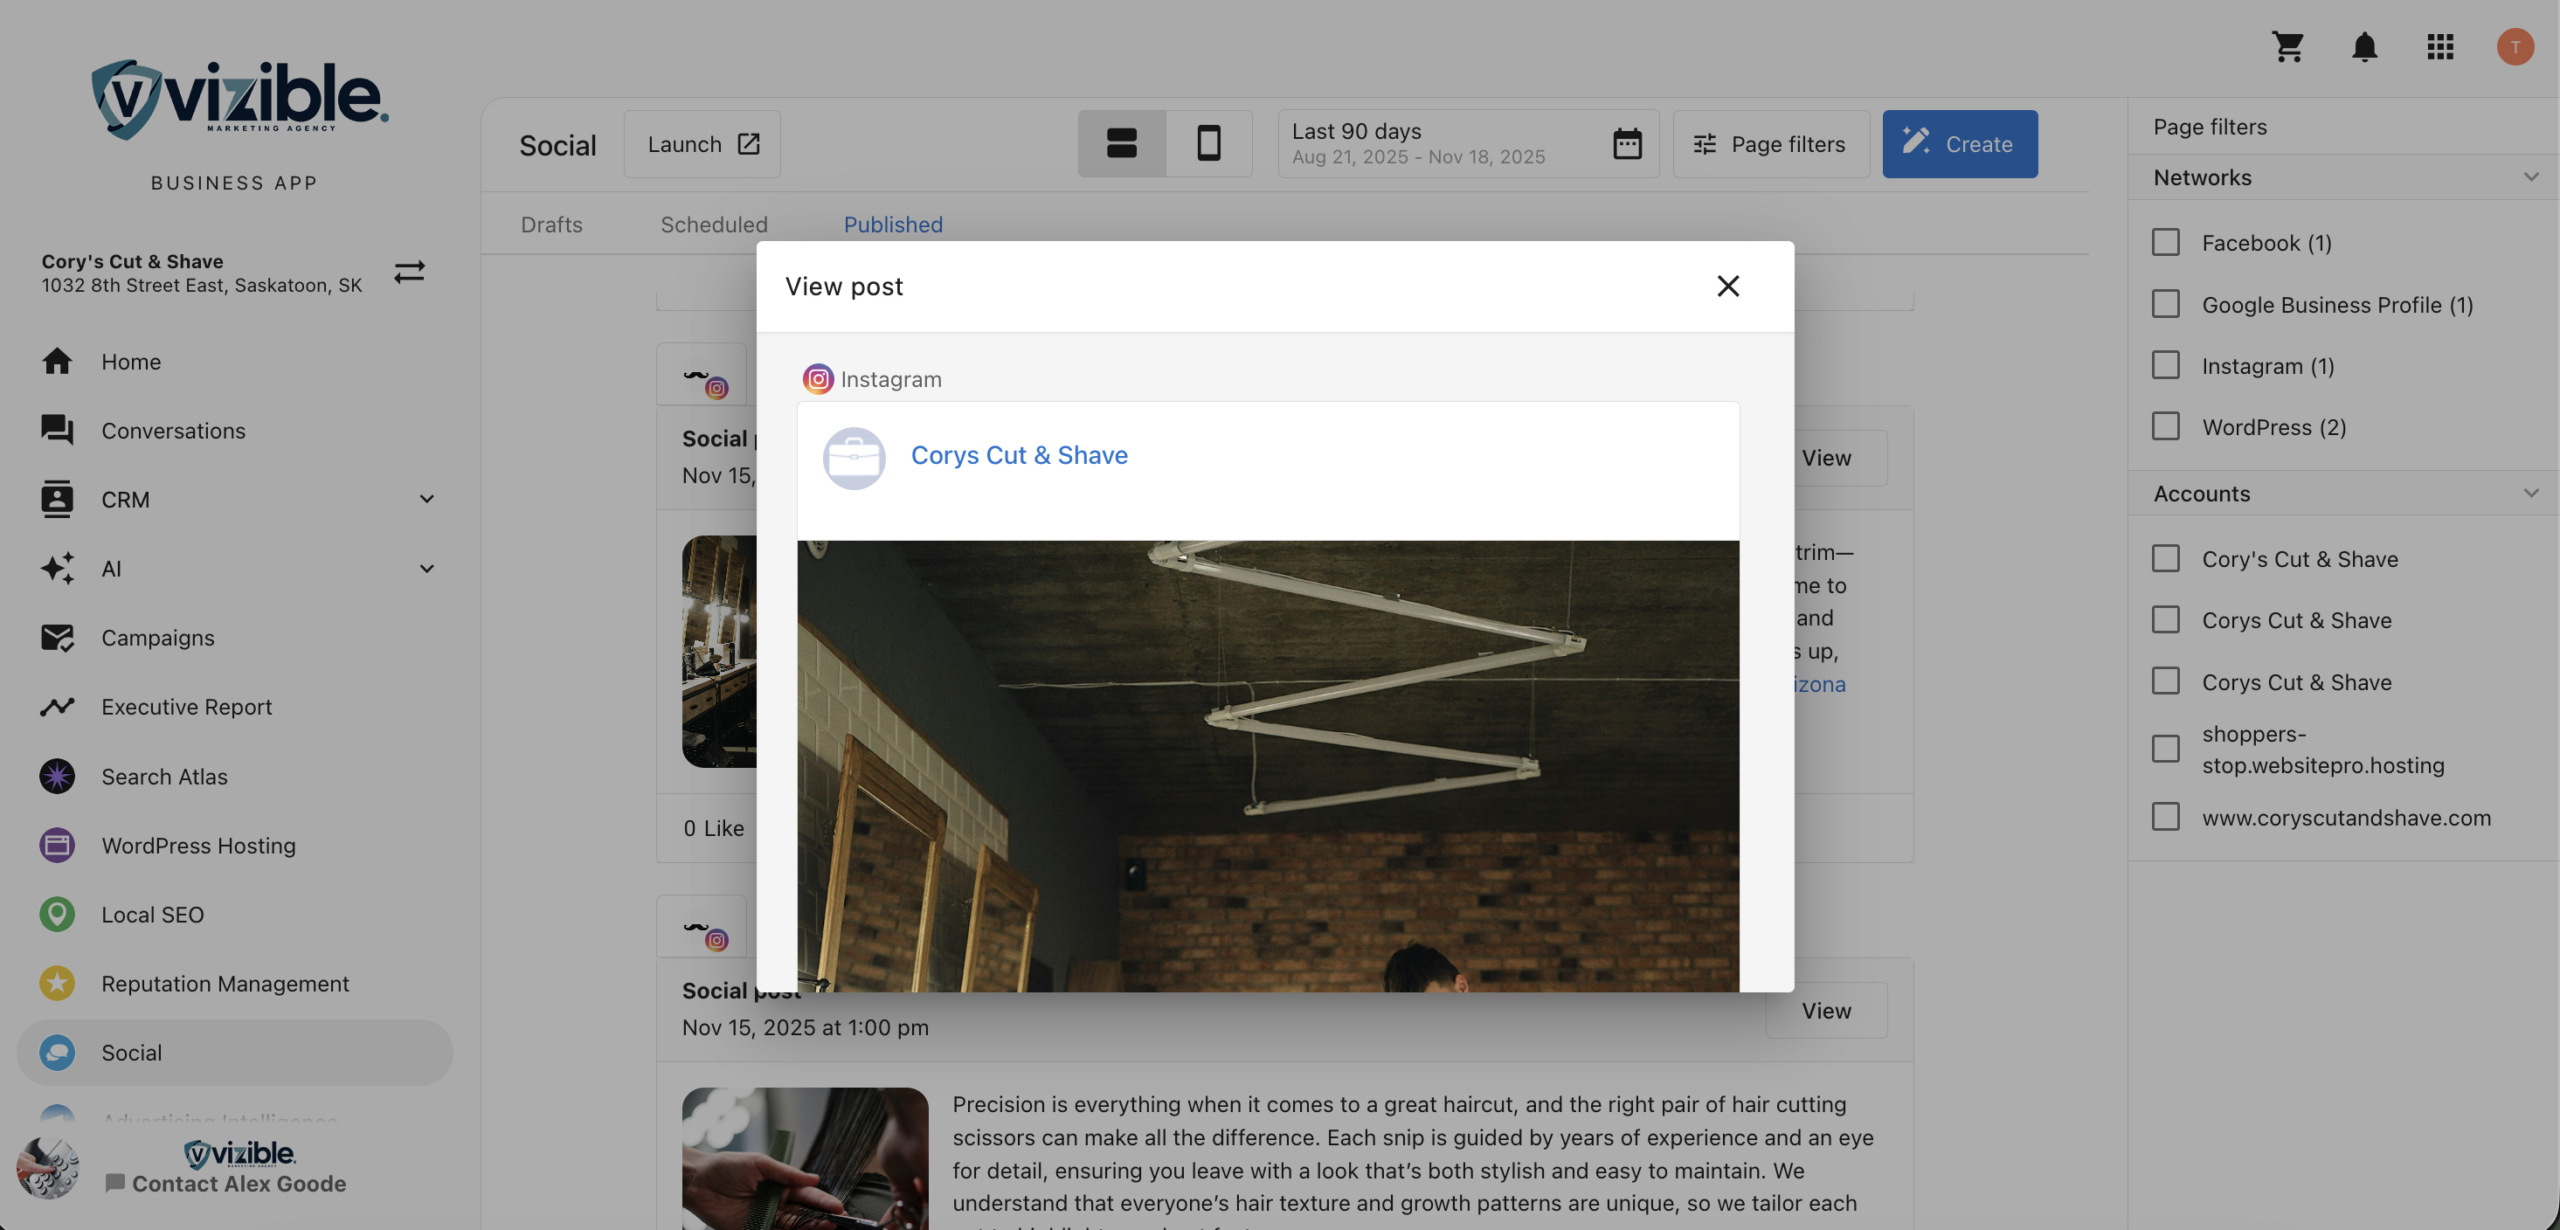
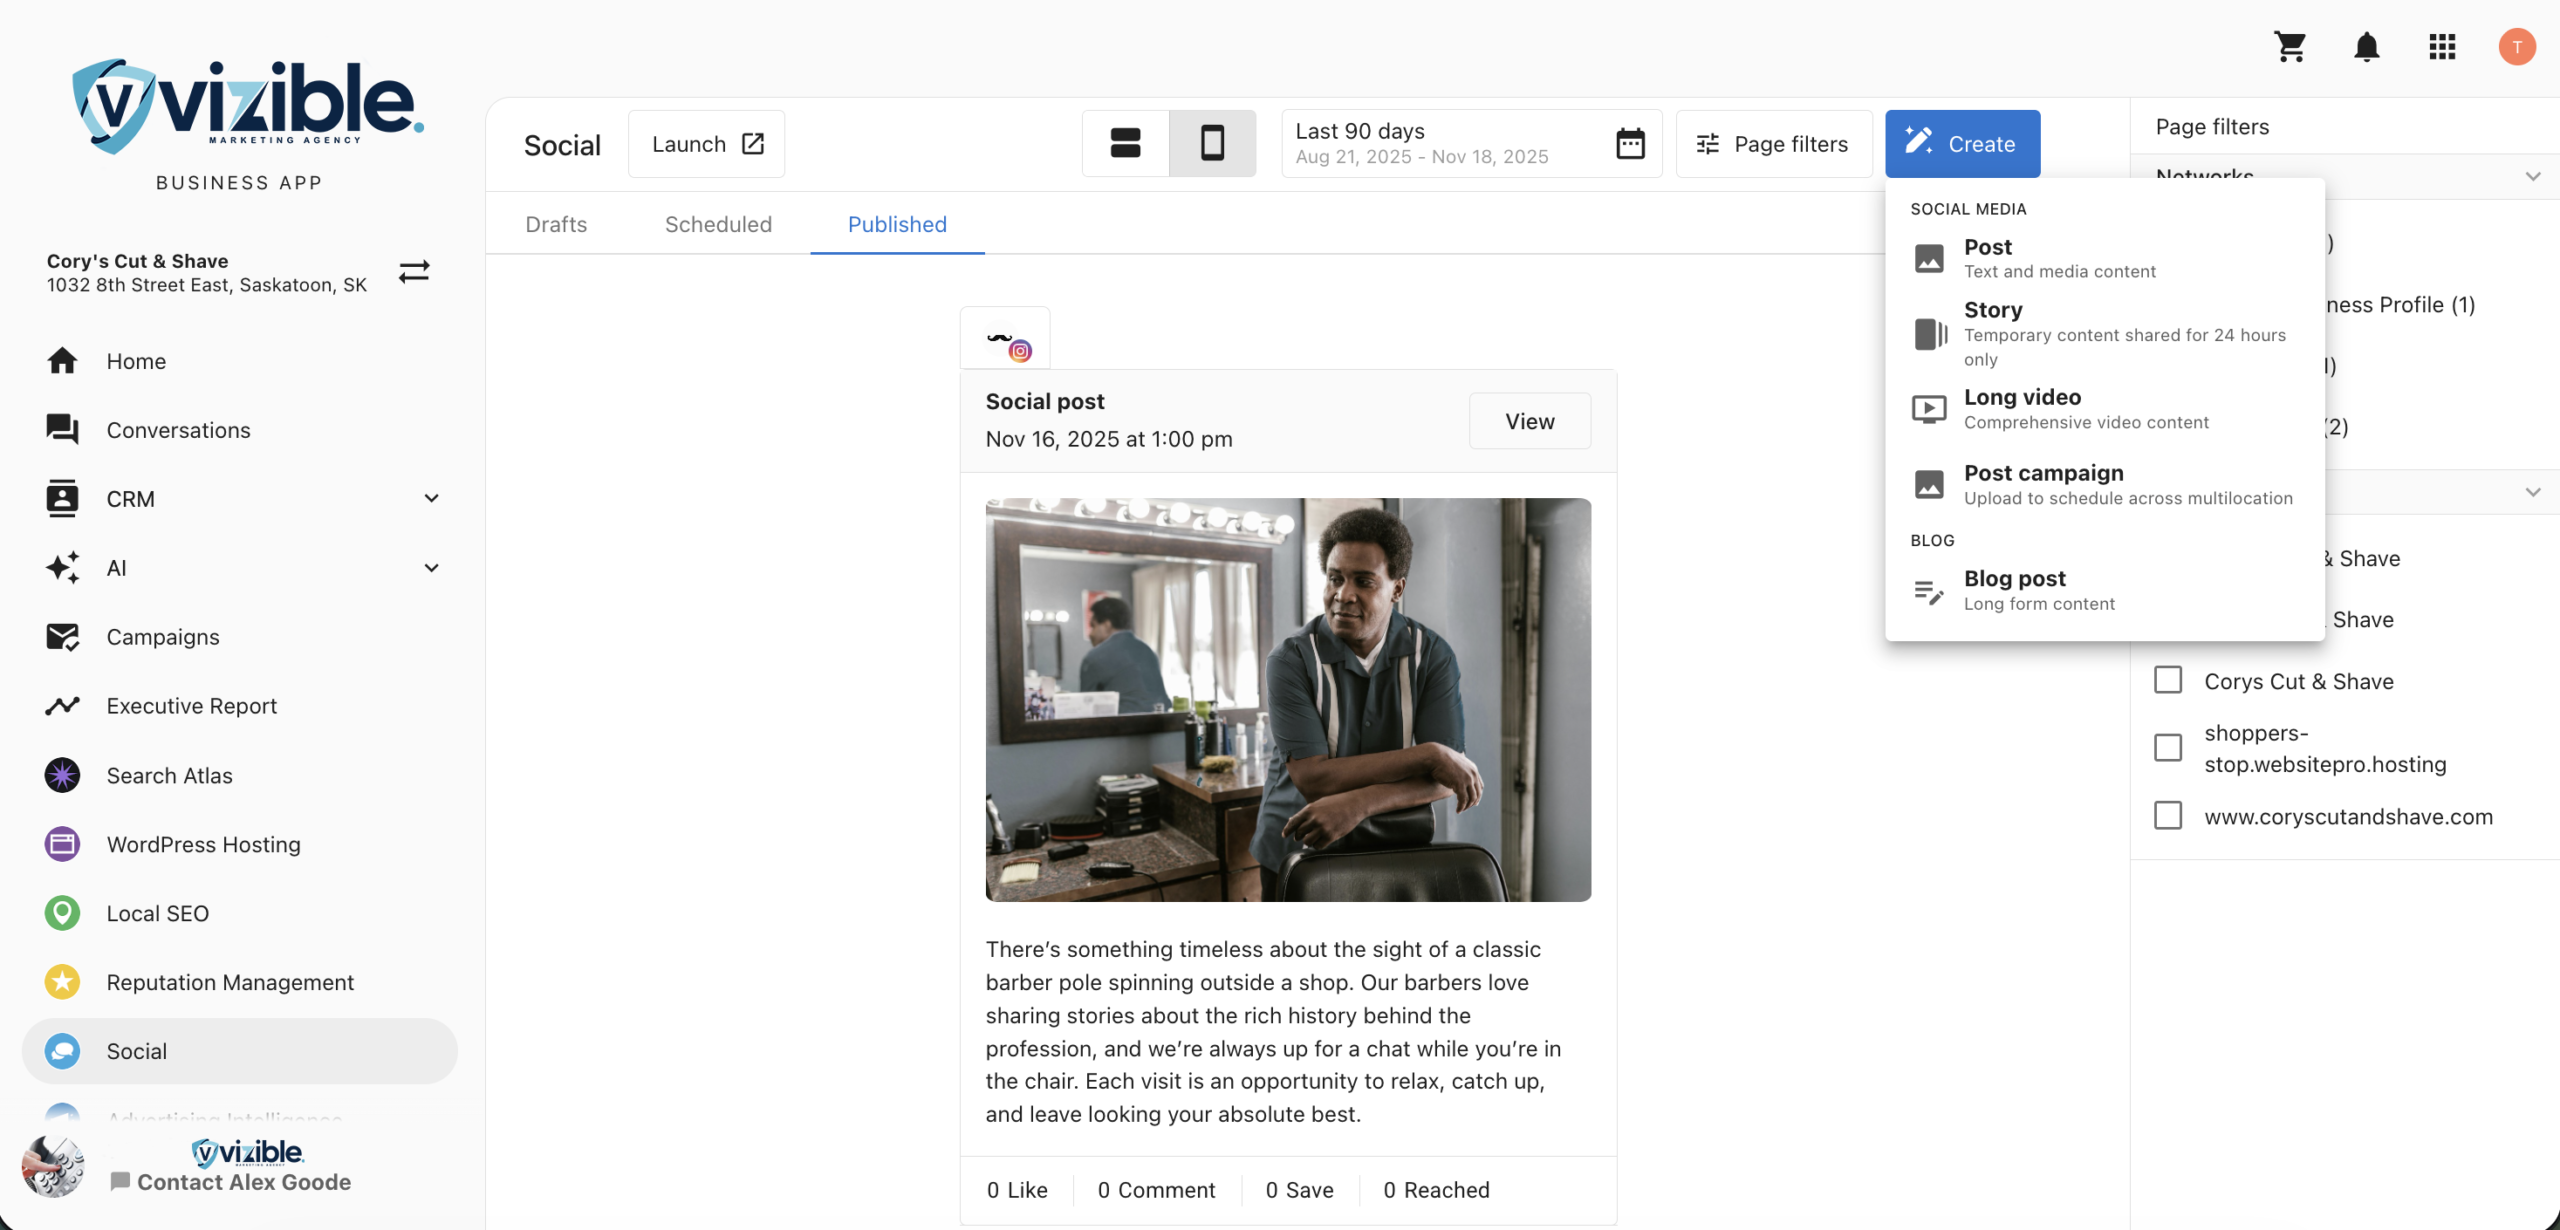
- Published – Shows posts that have already been published to your social or blog accounts.
Step 3: Review and Manage Posts
Within each tab, you can:
- View post content, status, and associated networks
- Access engagement metrics (likes, shares, comments, reach, etc.) for published posts
- Click
Viewto see how the post appears on its respective social network
Step 4: Apply Filters
Use the available filters to refine your post list:
- Social Networks – Filter by platform such as Facebook, Instagram, or LinkedIn.
- Connected Accounts – Focus on posts for specific accounts.
- Date Range –
- Drafts and Published: Filter by past date ranges.
- Scheduled: Filter by future publication dates.
Step 5: Preview Posts
You can preview each post in:
- Web View – See how your post appears on desktop devices.
- Mobile View – Review how it appears on mobile screens.

Step 6: Create a New Post
To create a new post:
- Click
Createin theSocialsection. - You will be redirected to the Social Marketing product.
- From there, you can compose a new social or blog post, add media, and schedule publication.
Points to Remember
You can delete draft, scheduled, and published posts directly from the Business App.